
[Reading time: 5 minutes]
This article is the entry point to the client account settings. It details the Account settings tab and points, for each of the other tabs, to its dedicated article.
Overview
The client account settings gather the settings that apply to your whole account, as opposed to the ones each user sets on their own account. In the Maker, open your user capsule, at the top right of the screen, then click Client account settings.
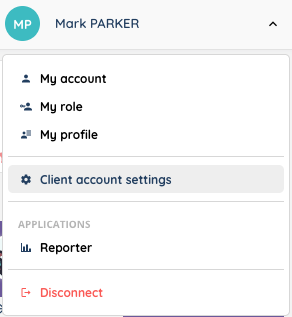
The left-hand menu gives access to the following tabs:
- Account settings: country, language, time zone, logo, password expiry, supervision and call settings. Detailed in section 1 below.
- Data retention: how long recordings are kept.
- SMS settings: have your outgoing SMS delivered by your own provider.
- SSO connectors: single sign-on for your users.
- Deletion history: the trace of everything that was deleted.
- Limits: the maximum number of items you can create, and how to request an increase.
- Security: the allowed domain names, the email address domains and your users’ domains.
- Webhooks: notify your own system as soon as an event happens on the platform.

Note: each tab follows its own read right on your role. You therefore only see the ones your role allows, and two people with different roles do not get the same menu. The edit right is required to change the values: without it, the Edit mode button does not appear.
1. Account settings
This is the tab opened by default. Click Edit mode at the top of the page to make the fields editable, adjust them, then Save. The message “General settings have been successfully modified.” confirms the change. Cancel drops your changes.
The settings are split across four groups.
1.1. Preferences
- Country and Language: the account defaults. Each user has the same settings on their own account, and it is their personal choice that applies to them.
- Playlists: the client account playlist, to be picked from the ones created in the Playlists tab of the Maker.
- Time zone: a default here too, which each user’s personal setting replaces for them.
- Client account logo: the logo shown in the Maker and in the Banner. Import a new logo replaces it, Use the default logo restores the INO cx one.
Three constraints apply to the logo:
- 2MB at most, otherwise “The file size must not exceed 2MB.”.
- A format among
.png,.jpeg,.jpgand.gif. - A file name made only of letters, numbers, spaces and the special characters
_.-():.
1.2. Security
- Password expiry: on Yes, a Password expiry timeout field appears. Enter a number of days between 30 and 365. Past that delay, your users have to change their password.
1.3. Options
- Real-time supervision module: the sublabel warns that “by disabling this option, the real time supervision module will no longer be available.” The setting applies to the whole account; on top of it, the person needs the required rights on their active profile.
1.4. Calls
- Head of line: the number shown by default on an outbound call. It is used by every advisor with no head of line set on their own account. If no head of line is set anywhere, calls go out anonymously.
- Original number presentation during transfers: on Yes, the caller’s original number is presented during a transfer.
- Choice of number to present: this field only appears if the previous setting is on No. It determines the number presented instead.
- National trunk: on Yes, a Region code field appears, to be filled in as
+33,+44and so on.
2. Data retention
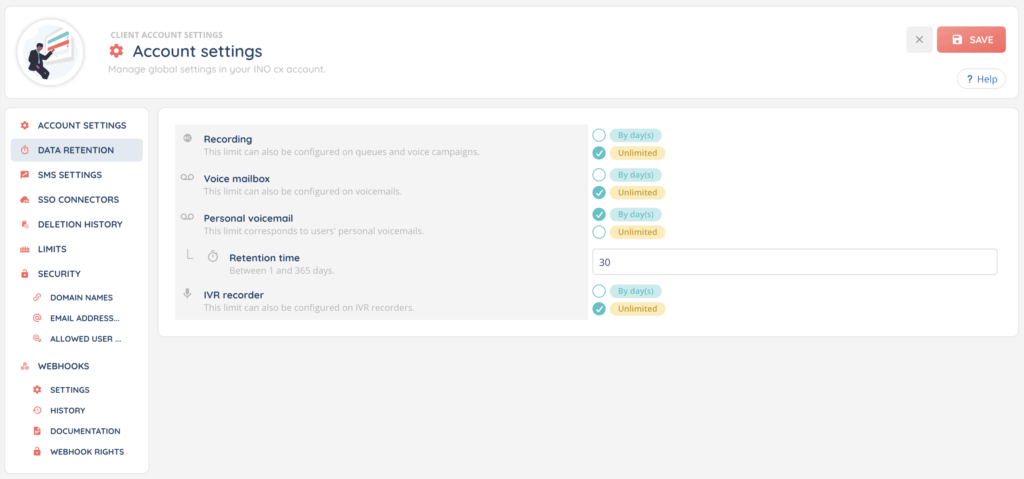
This tab sets how long recordings are kept on INO cx before automatic deletion: call recordings, SMART voice mailbox messages, personal voicemail messages and IVR recorder files. For each one, you choose an unlimited retention or a number of days.
The steps to follow, the retention times set directly on a queue or a campaign, and what happens once the time is reached: see the Data retention article.
3. SMS settings
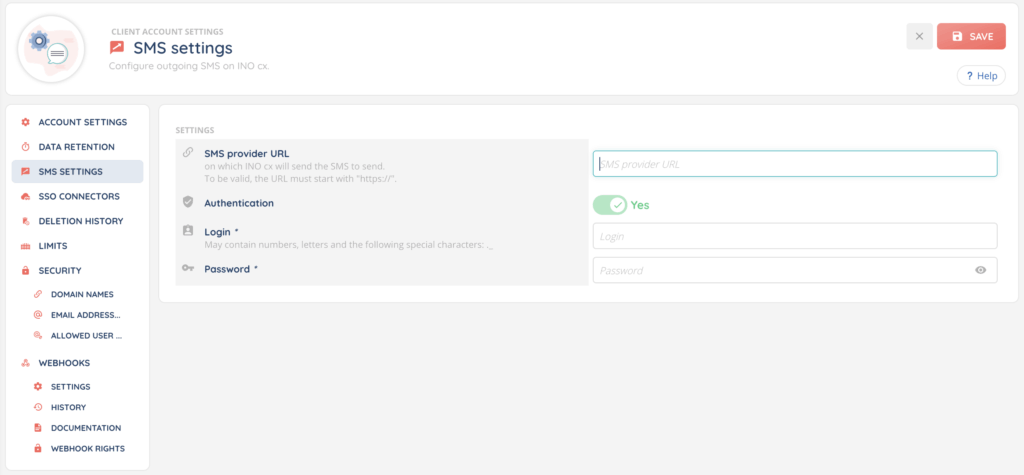
By default, your outgoing SMS are delivered by INO cx. This tab lets you have them delivered by your own provider instead: you enter the address where it expects the messages, with authentication if needed, and a button lets you check the connection.
The detail of the fields, the test and the data passed to your provider: see the SMS provider article.
4. SSO connectors
This tab holds no setting of its own: it takes you straight to the SSO connectors page of the Maker, where single sign-on for your users is configured.
See the Single sign-on (SSO) article.
5. Deletion history
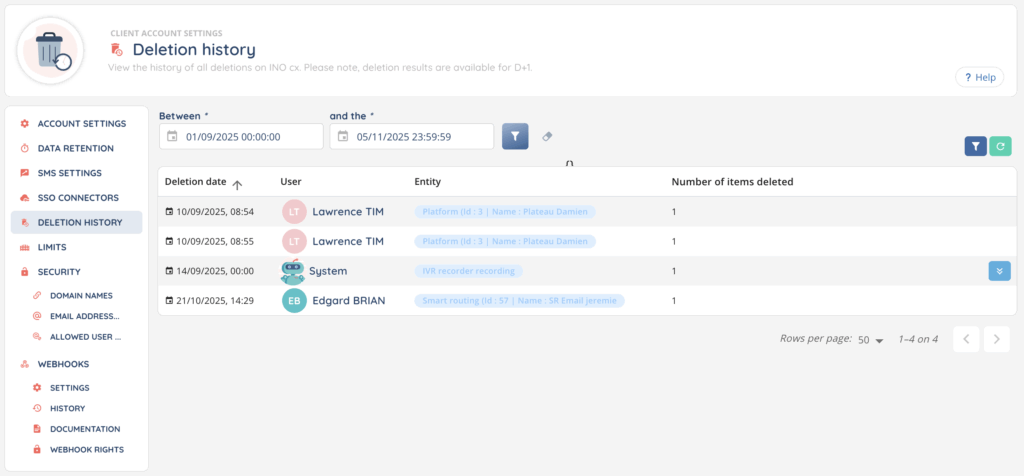
This tab keeps the trace of the deletions made on your account, both your users’ and those triggered automatically by a retention time. For each line, you see when, by whom, on what and how many items.
The columns, the filters and how to read automatic deletions: see the Deletion history article.
6. Limits
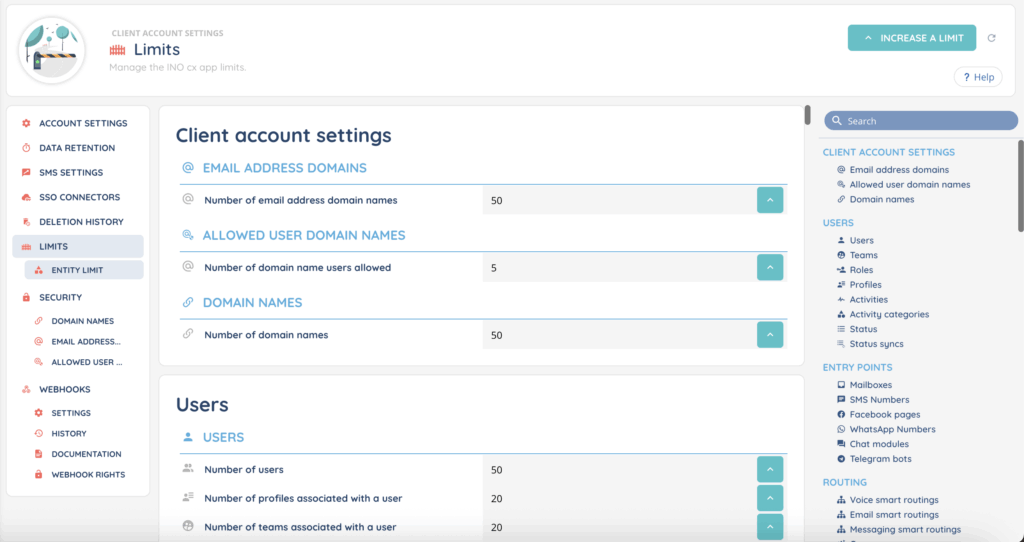
This tab gathers the maximum number of items you can create on your account: users, queues, campaigns, questions in an evaluation grid, and so on. The values are read-only; you send an increase request to the support team, who reviews it case by case.
How to read the page and how to word a request: see the Limits article.
7. Security
This tab gathers three sub-tabs, all about domain names but serving different purposes:
- Domain names: which websites can reach your account, which is what lets a chat module installed on your site talk to INO cx.
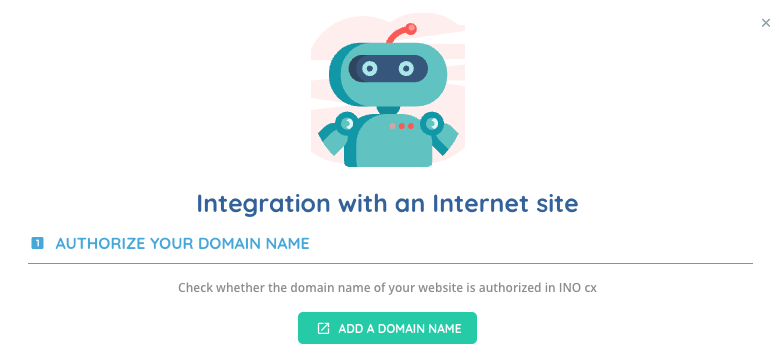
- Email address domains: the domains your mailboxes are built on, with the list of blacklisted addresses of each domain.
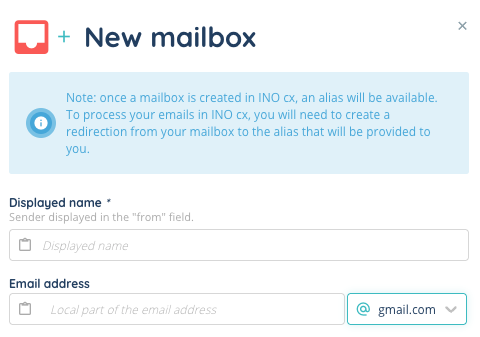
- Allowed user domain names: the domains you can create your users’ addresses with.
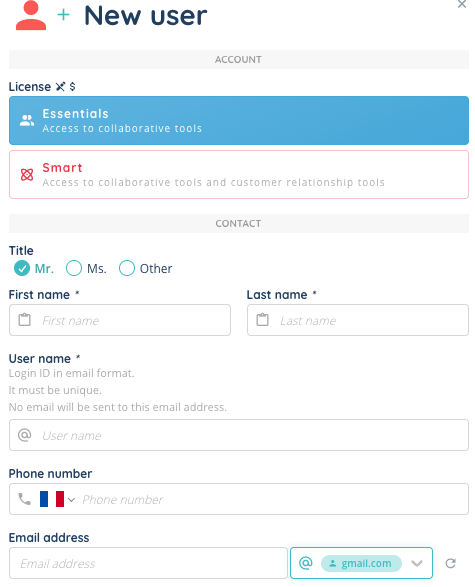
The detail of the three lists: see the Security article.
8. Webhooks
A webhook notifies your own system as soon as an event happens on the platform. This tab has four sub-tabs: Settings to enable the integration and enter your address, History to check what went out, Documentation for the detail of the data sent, and Webhook rights to choose the events you receive.
The full setup: see the Webhooks article.