
[Reading time: 3 minutes]
Overview
The History of interactions module in the Banner allows agents and managers to review past interactions handled within INO cx.
This module provides access to interactions over a sliding 3-month period and includes filtering, sorting, and detailed interaction views.
1. Access rights
The visibility of interactions depends on the user’s type:
- Manager: Can access their own interactions and those of the team members they manage. They can also access smart interactions from the queues of their active profile.
- Collaborator: Can access their own interactions.
- Administrator: Can access smart interactions from the queues of their active profile (only for the flows they are allowed to see). They can also access all direct interactions.
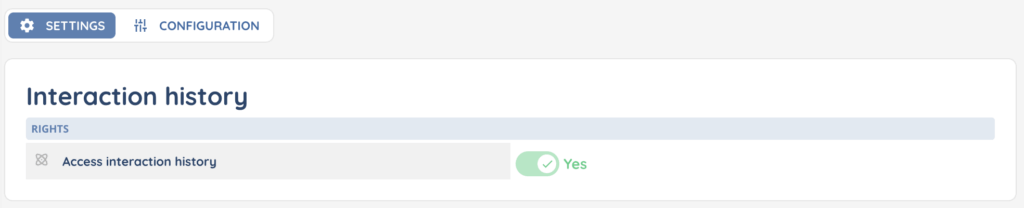
Access to this module is controlled at the Profile level in the Maker. The History of interactions permission can be enabled or disabled in the profile configuration.
2. List of interactions
When you open the module, the system displays a list of interactions.
- Default filter: The list is automatically filtered to show the interactions of the current day.
- Date filter: You can modify the period, up to a maximum of 3 rolling months.
- Search bar: Allows quick filtering by phone number or email address in the Contact column.
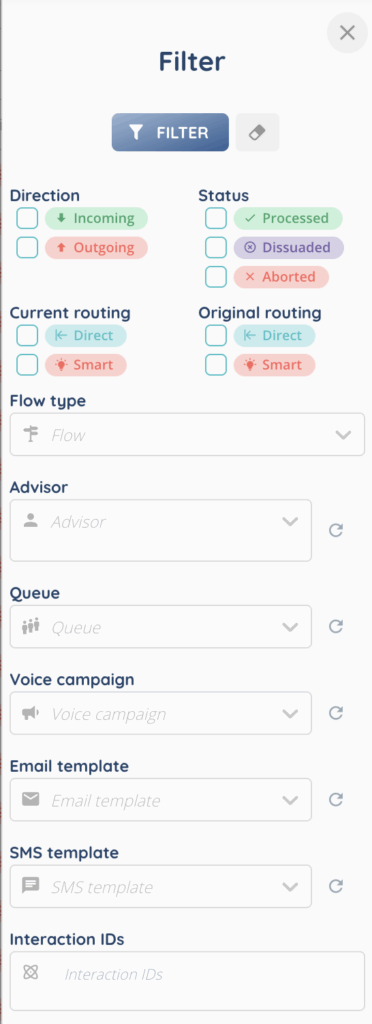
- Advanced filter: Provides filtering across all available columns, and additional criteria such as template used (email/SMS) or interaction IDs. Filters can be combined.
Columns
Each row in the list represents one interaction. The available columns include:
- Start date
- End date
- Flow (Voice, Email messaging, SMS messaging, WhatsApp messaging, WhatsApp campaign, Telegram messaging, Chat messaging, Messenger messaging)
- Status: Processed, Delivered, Warning (for emails), Aborted, or Dissuaded (hover to see the reason).
- Direction: Incoming or Outgoing
- Original routing: Smart or Direct
- Current routing: Smart or Direct
- Advisor
- Queue
- Contact (with quick actions such as sending an SMS, calling, or sending an email directly from the list)
- Voice campaign
At the end of each row:
- An arrow button opens the interaction details.
- If the interaction is linked to a CRM record, a CRM button opens the record in the CRM module of the Banner.
Sorting
All columns can be sorted by clicking on their headers. By default, the list is ordered from the most recent interaction to the oldest.
3. Opening an interaction
An interaction can be opened in two ways:
- By clicking on the date of the interaction.
- By clicking the arrow button at the end of the row.
The interaction opens in two parts:
- Left panel (widget view): Displays key information such as interaction ID, flow, direction, status, queue, participants, CRM card, case, events, SR data, etc.
- Central panel (full page view): Displays detailed information through several tabs.
In the central panel, you can see several tabs:
- Interaction
- Card
- Case
- Qualifications
- Survey answers
- Invoices
4. Actions available
At the top right of the interaction view, several actions are available:
- Refresh: Update the interaction view.
- Settings (cogged wheel icon): Allows actions such as creating a payment, creating/assigning/unassigning a CRM record, or creating/assigning/unassigning a case.
- My buttons: Custom buttons configured for the user. See the dedicated article here for more details.