[Reading time: 3 minutes]
Overview
This article explains how to configure the HubSpot integration in INO cx.
Note: the entire article concerns CRMs v2, but the HubSpot configuration section is common to CRMs v1.
1. HubSpot configuration
1.1. Create a HubSpot developer account
You must start with a HubSpot developer account.
This account will allow you to create a legacy app, required to connect HubSpot with INO cx.
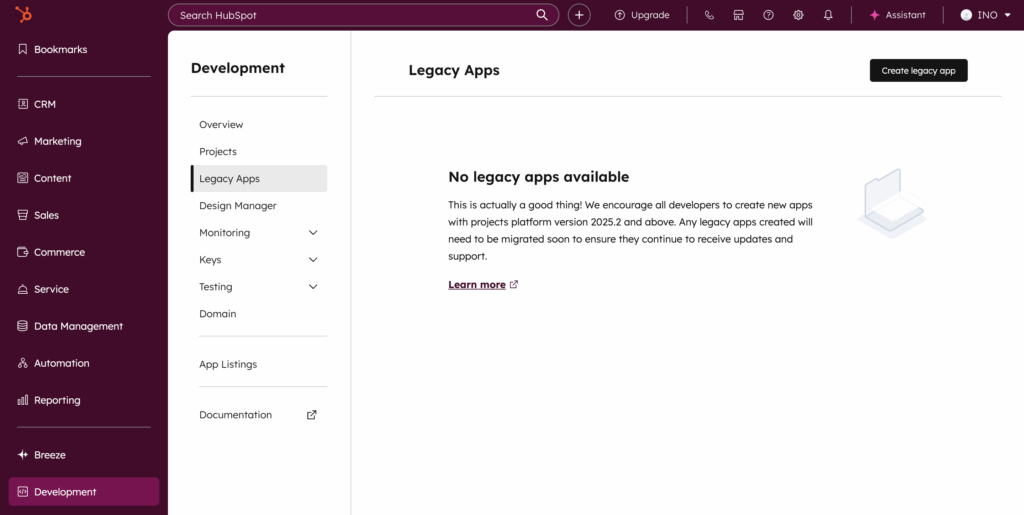
1.2. Create a Legacy App
- In the developer account, click ‘development’ in the left-side vertical menu.
- Go to ‘legacy apps’.
- Click ‘create legacy app’.
- Select ‘Public’.
You can only access the OAuth credentials (App ID, Client ID, Client Secret) after filling out the authentication configuration.
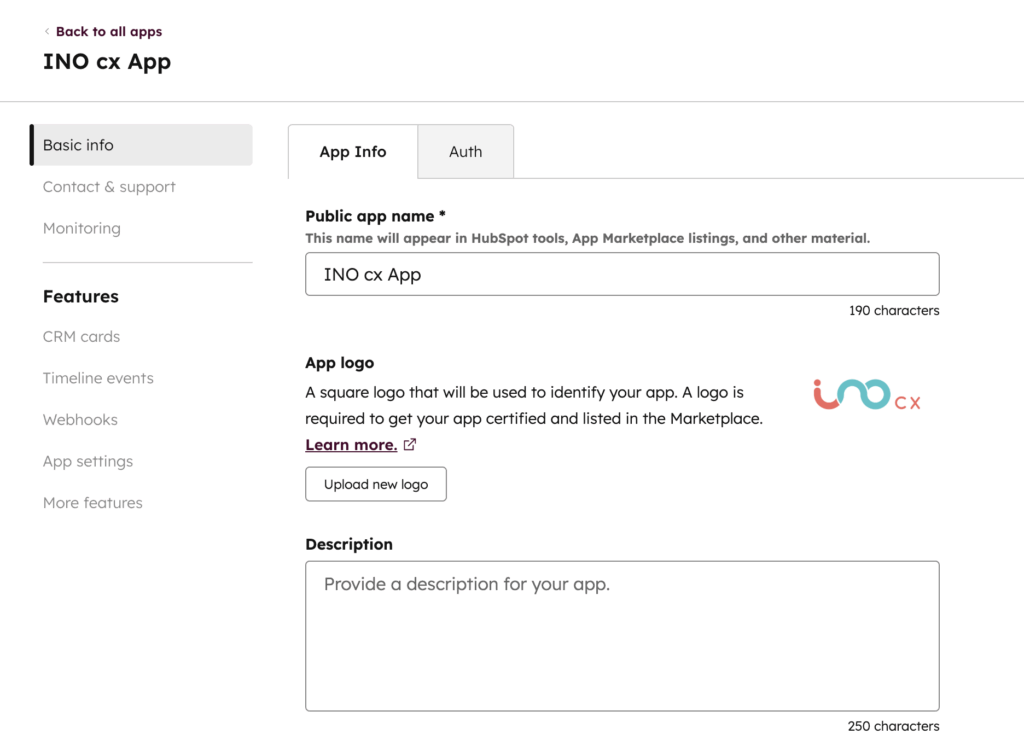
1.3. Configure the authentication (OAuth)
Open the app you just created and add a name for your app, then go to the Auth tab.
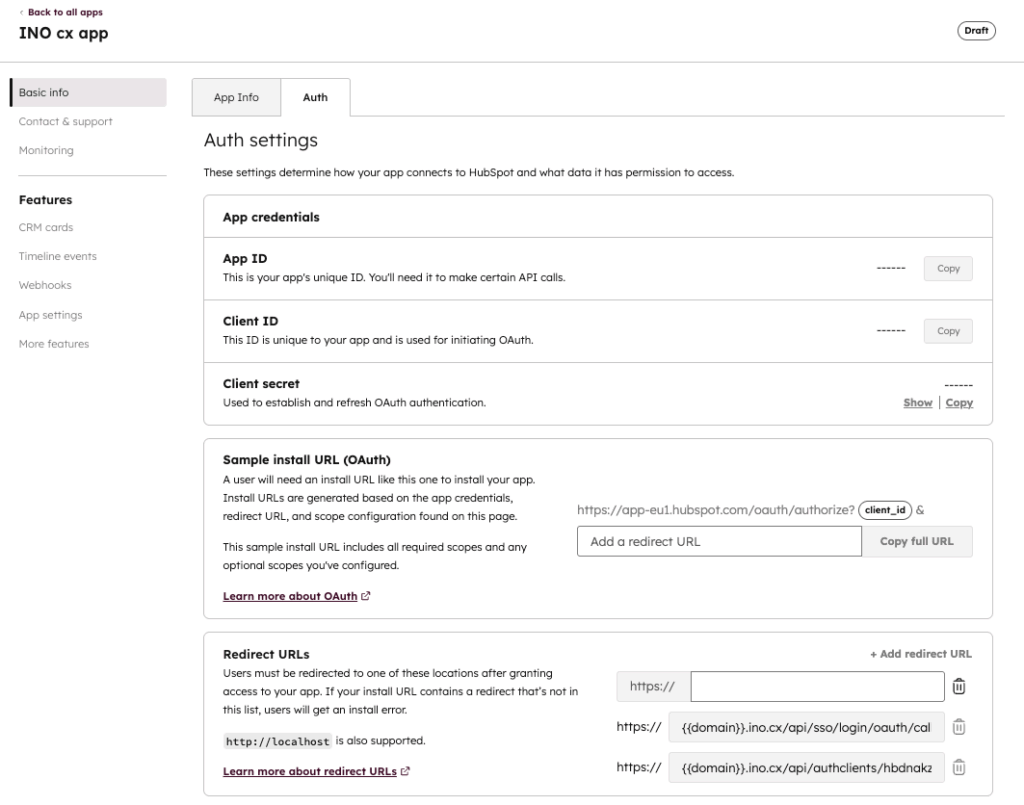
Fill in all required fields, including the Redirect URLs, otherwise HubSpot will not allow the app to be created.
Use the following redirect URLs:
- https://{{domain}}.ino.cx/api/authclients/hbdnakz/fzefdzs
- https://{{domain}}.ino.cx/api/sso/login/oauth/callback
Add all required permissions used by the integration by clicking ‘Add new scope’.
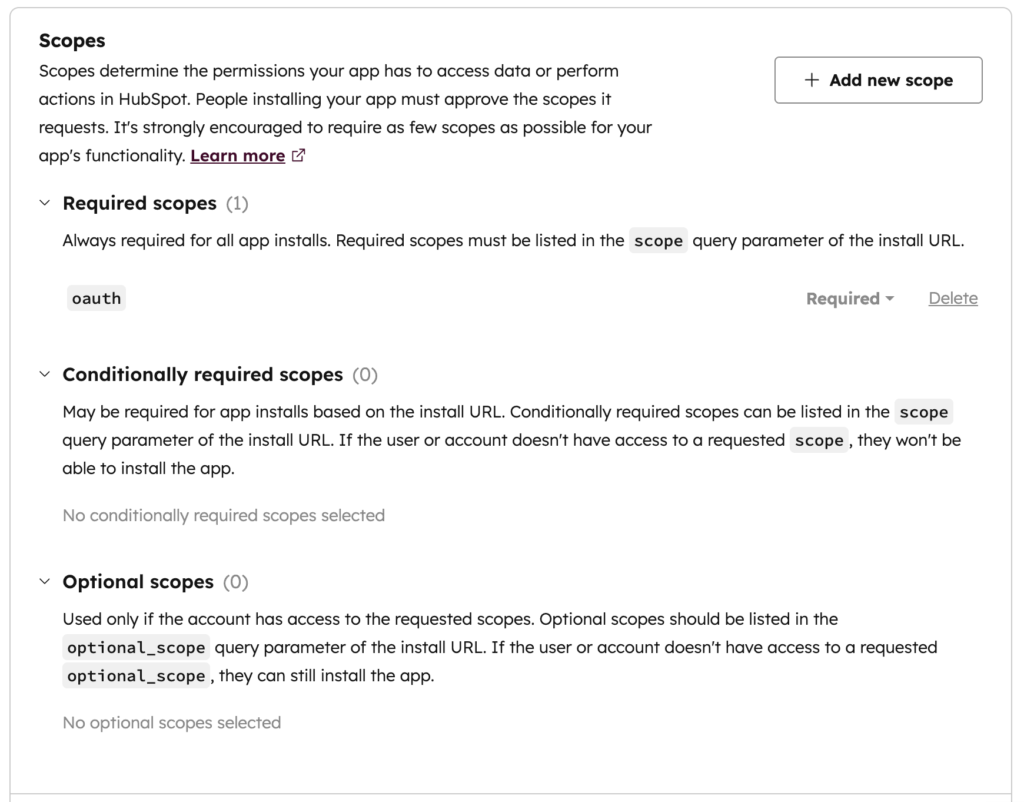
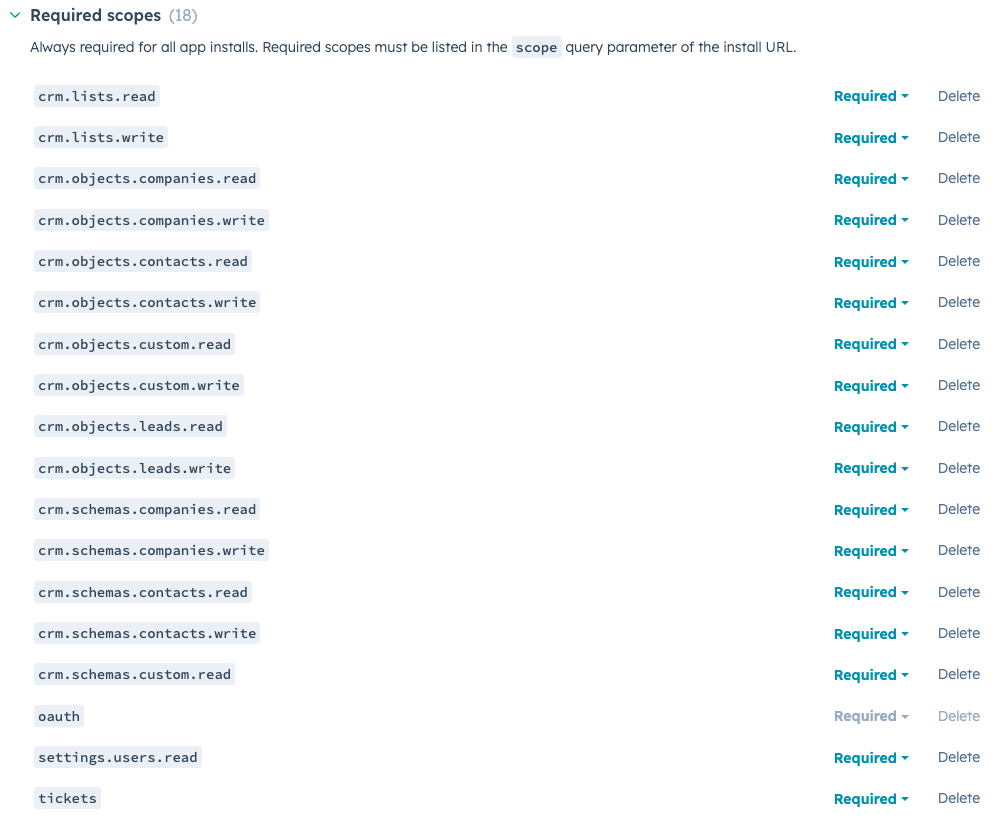
Note: additional scopes may be required depending on the CRM objects you plan to configure.
When all fields are complete, click ‘Create app’.
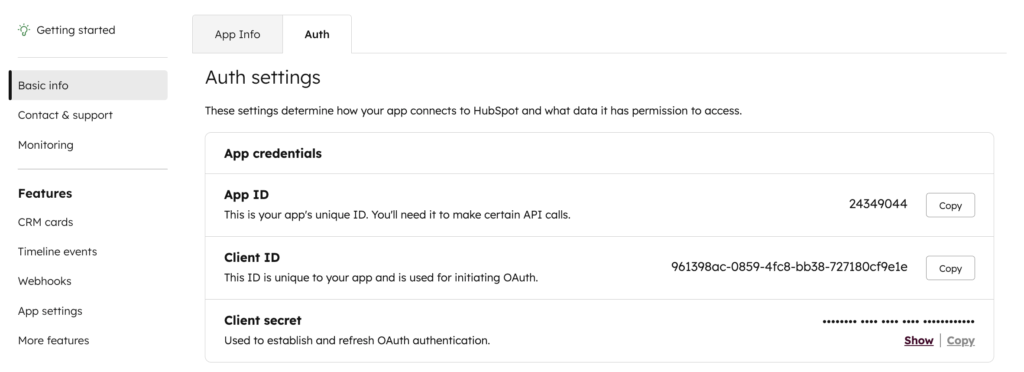
Your app now appears in legacy apps list, and the following credentials become visible:
- App ID
- Client ID
- Client Secret
Copy them for later use.
2. INO cx configuration
2.1. Create the authentication method
In the Maker:
- Go to Authentication methods.
- Create a new HubSpot type method.
- Fill the fields using the values retrieved in HubSpot:
| INO cx | HubSpot |
|---|---|
| Environment | App ID |
| Client ID | Client ID |
| Token | Client secret |
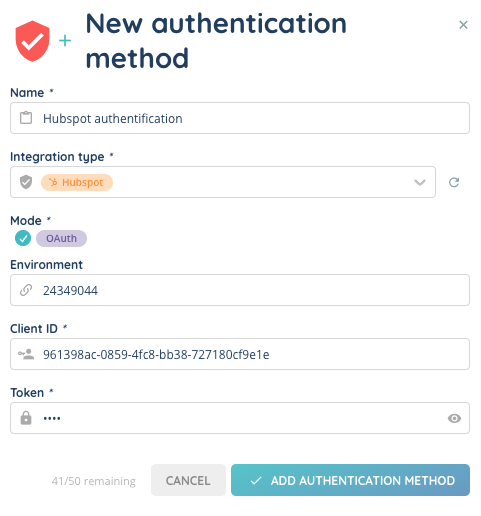
Save your method.
2.2. Activate the OAuth client
Activate the authentication method.

A popup opens and redirects you to HubSpot.
Confirm the connection between INO cx and HubSpot, and select the correct HubSpot environment.
Once validated, the method becomes active.
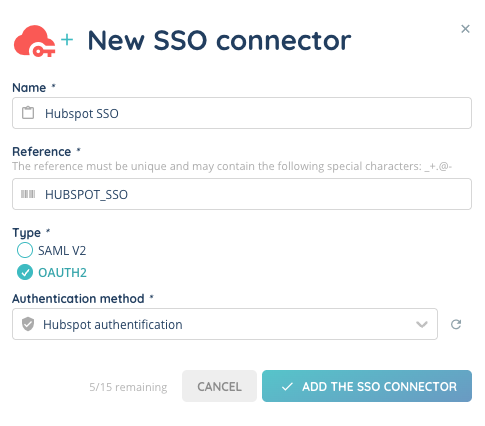
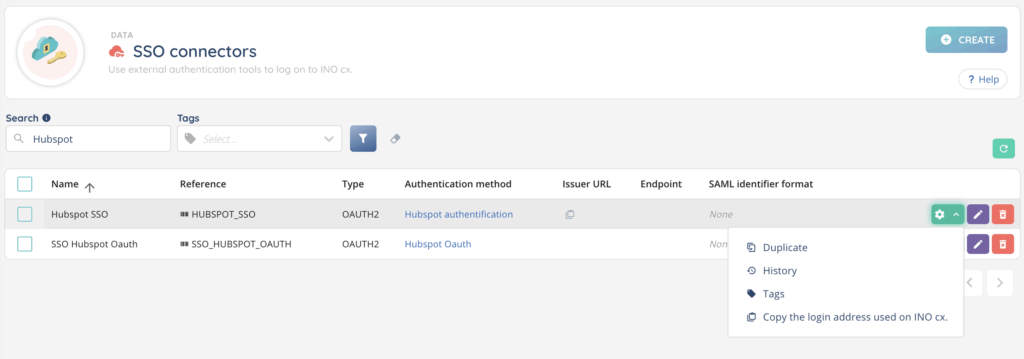
2.3. Create the SSO connector
- In the Maker, go to SSO connectors.
- Create a new connector.
- Select the HubSpot authentication method you just configured.
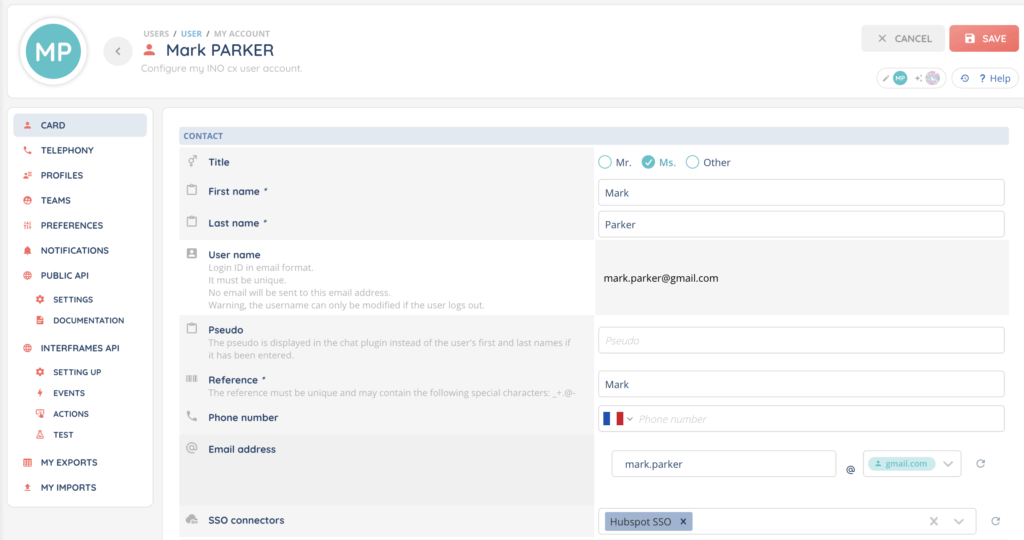
2.4. Assign the connector to a user
Associate this connector to your user, to allow logging into INO cx with HubSpot.
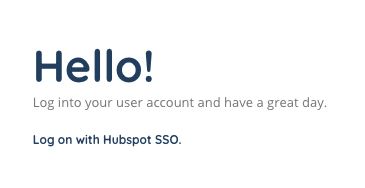
Use the login URL to connect through HubSpot.
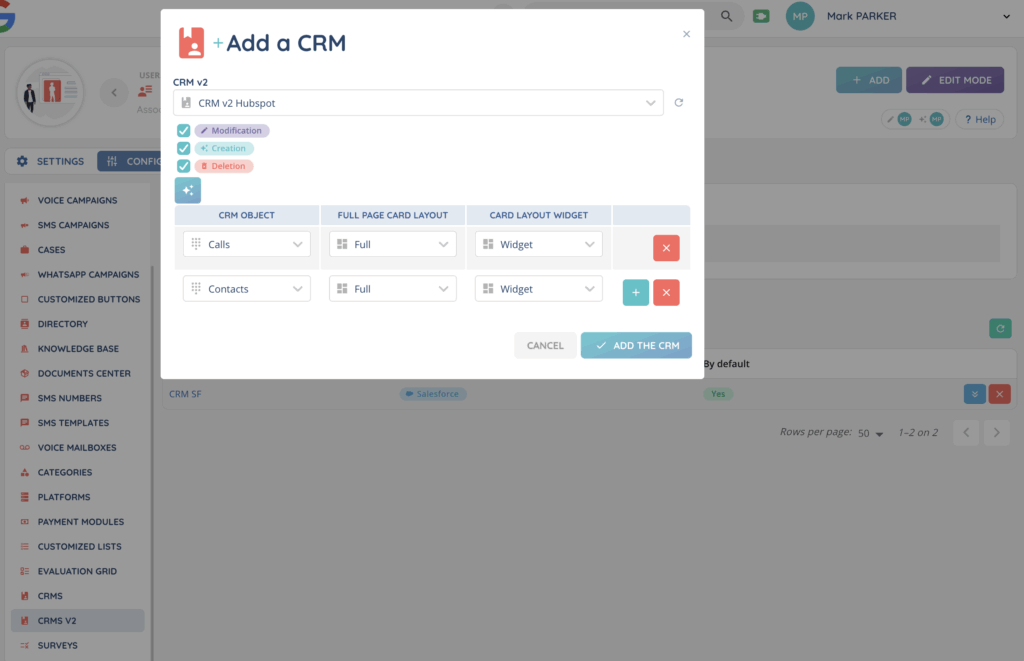
2.5. Create the HubSpot CRM v2
In the Maker:
- Go to CRM v2.
- Create a HubSpot type CRM.
- Select the authentication method already configured.
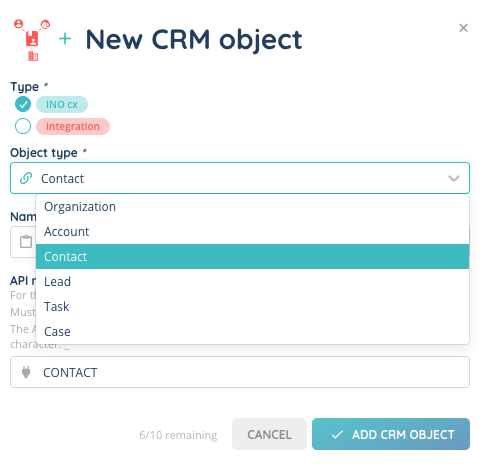
2.6. Create the HubSpot CRM objects
Create the objects you want to synchronize, such as:
- Contacts
- Tickets
- Calls
- etc.
2.7. Create CRM object fields
Follow the HubSpot API documentation to reproduce the CRM schema in INO cx.
Examples include:
- Contact fields:
- First name (short text)
- Last name (short text)
- Phone number (phone number)
- Mobile phone number (phone number)
- Email (email adress)
- Ticket fields:
- Ticket ID (short text)
- Ticket name (short text)
- Ticket status (short text)
- Ticket description (long text)
- Calls fields:
- Call title (short text)
- Calls status (short text)
- Call direction (short text)
- Call duration (numeric)
- From number (phone number)
- To number (phone number)
- Activity date (date + time)
- Call outcome (short text)
2.8. Create screen pop scenarios and interaction assignment
Set up:
- Screen pop conditions (e.g., phone number search on Contacts)

- Interaction assignment rules
You can base rules on:
- Channel: Voice | Email | Messaging
- Direction: Incoming | Outgoing
- CRM object: Contacts | Tickets | Calls
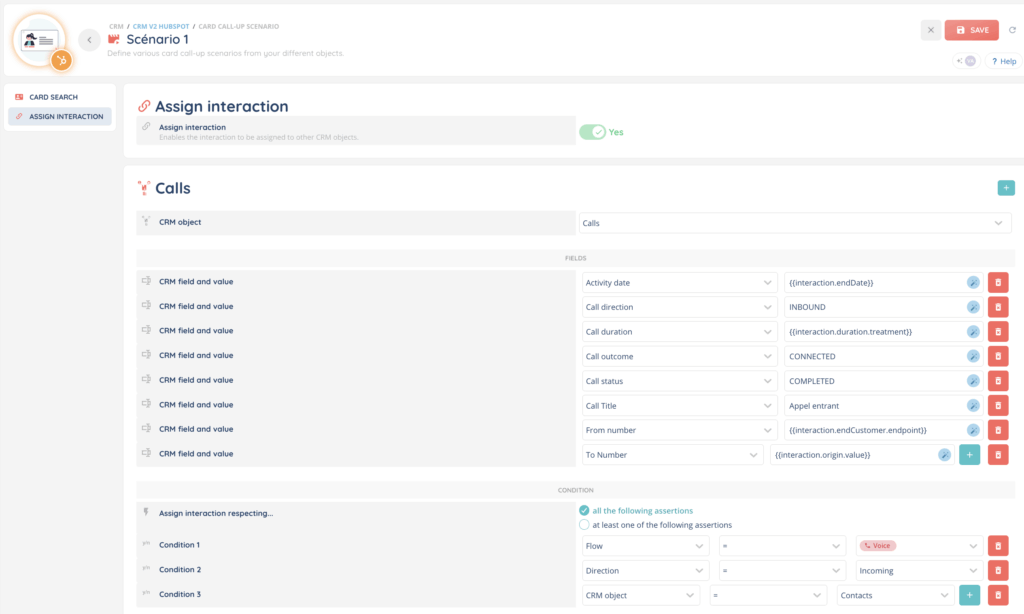
Refer to HubSpot API documentation for mapping.
2.9. Associate the CRM to a Profile
Finally, go to Profiles in the Maker and associate your new HubSpot CRM with the appropriate profile so agents can access it from the Banner.