
[Reading time: 4 minutes]
Overview
Before your teams can handle tasks in their banner, you set tasks up in the Maker. Configuration has two parts:
- The Tasks module of the Maker, where you manage task Categories and task Types.
- The user profiles, where you grant access to the Tasks module and choose which categories each profile can work with.
This article covers the configuration. To learn how advisors then create and follow tasks in their banner, see Tasks – Use them.

Prerequisites
- A Smart license.
- Access to the Maker.
- On your role, the rights to manage the Tasks module — viewing, creating, modifying and deleting Categories and Types.
- To grant access to end users, the right to edit user profiles.
1. Where to configure tasks
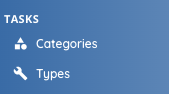
In the Maker, open the Tasks module. It contains two sub-modules:
- Categories — the way you classify and partition tasks (a category is what you later associate with a user profile).
- Types — the nature of the task, carrying a flow (Voice, Email, SMS) when relevant.
Specific examples:
- a task with invoice tracking category (visible only to accounting profile), and reminder email type;
- a task with customer follow-up category (sales profile), and reminder phone call type;
- etc.
2. Creating a task category
- In the Maker, go to Tasks > Categories.
- Click Create.
- Fill in the following fields:
| Field | Description |
|---|---|
| Name | Name of the category (e.g. “Call-back”, “Administrative follow-up”). |
| Reference | A unique reference for the category. It must be unique and may contain letters, digits and the special characters _+.@-. |
- Click Add the task category.
Note: an existing category can be modified, duplicated (Copy the task category) or deleted from the Categories list.
3. Creating a task type
- In the Maker, go to Tasks > Types.
- Click New task type.
- Fill in the following fields:
| Field | Description |
|---|---|
| Name | Name of the task type. |
| Reference | A unique reference for the type (same format rule as for categories). |
| Flow | Classifies the type by channel: None, Voice, Email or SMS. See the note below about the SMS flow. |
- Click Add the task type.
A task type has a status, shown in the Types list as Active or Inactive. From the list you can Activate or Deactivate a type, as well as modify, duplicate or delete it.
Note about the SMS flow: when a type’s flow is SMS, tasks created with that type offer a Trigger mode (Automatic or Manual) and a single trigger date, instead of the usual start/end dates. This trigger date is only used to schedule and find the task — it does not send an SMS or raise a banner notification on its own. See Tasks – Use them.
3.1. System task types
A set of system task types is provided out of the box. They are read-only: you cannot modify, delete or select them — only your own custom types can be edited.
| System type | Flow |
|---|---|
| SMS | SMS |
| Reminder | Voice |
| Payment | None |
| Salesforce Request | None |
| Other | None |
4. Giving users access to tasks
A user works with tasks through their user profile. Two things must be set on the profile.
4.1. Task rights
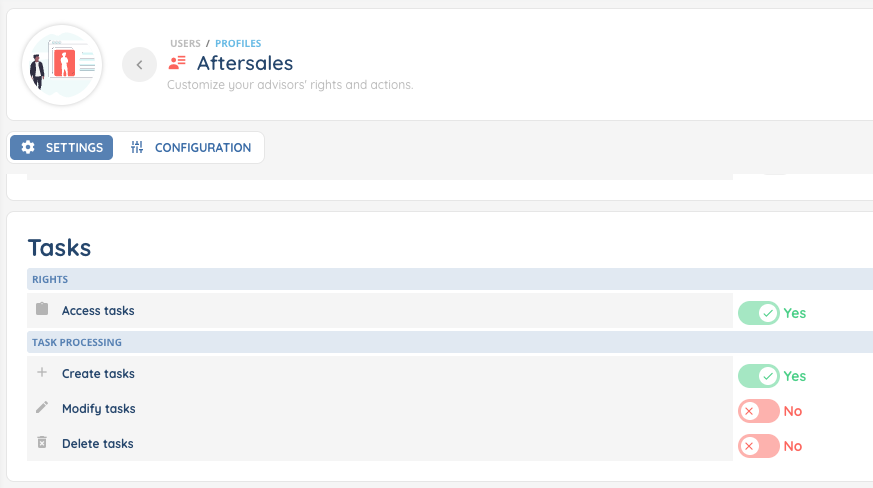
In the user profile, open the Tasks section and set:
| Right | Effect |
|---|---|
| Access tasks | Gives access to the Tasks module in the banner. Required — without it, the rest has no effect. |
| Create tasks | Allows creating tasks. |
| Modify tasks | Allows editing tasks. |
| Delete tasks | Allows deleting tasks. |
4.2. Associating task categories
A profile only sees and creates tasks in the categories it is associated with. In the user profile, use Add task categories to link the relevant categories.
Note: if a profile has no category associated, its users cannot select a category when creating a task — so associate at least one.
Now, you can use the tasks in the Banner!