[Reading time: 2 minutes]
Overview
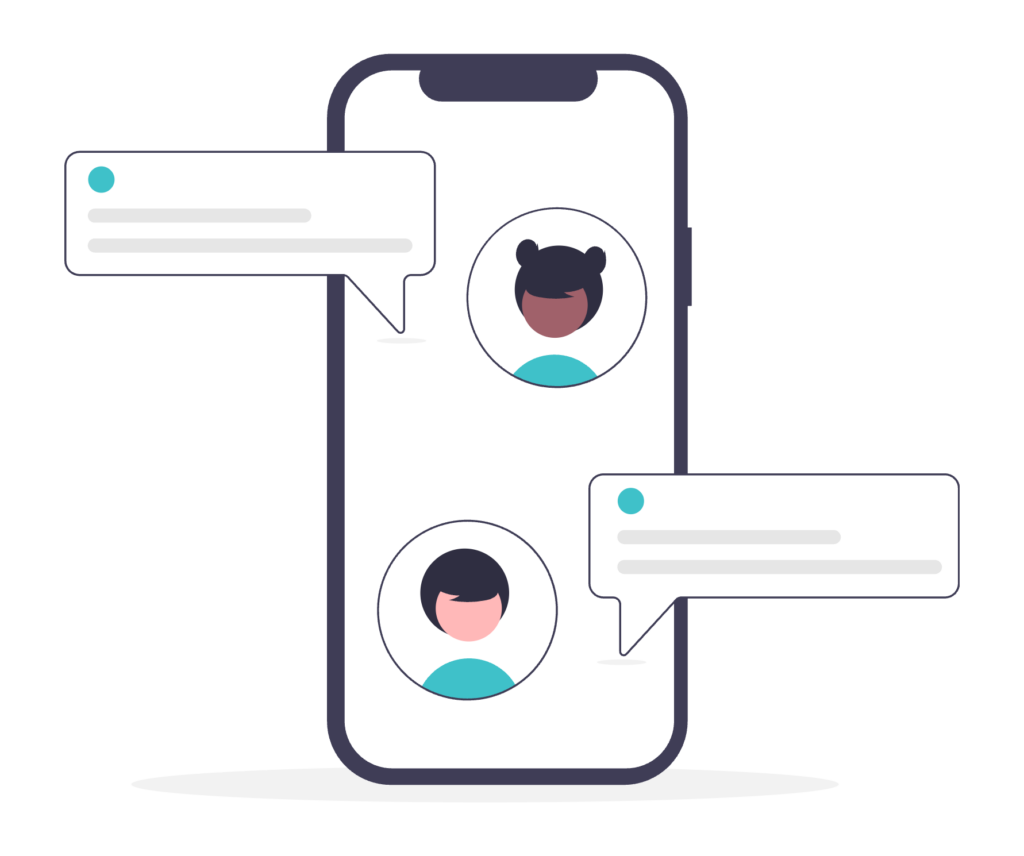
Chat modules allow you to configure and deploy a chat interface that can be integrated into your website or used in digital interactions (for example via SMS campaigns).
From this page, you can create, manage, configure, and integrate your chat modules.
1. Access the chat modules list
When you open the Chat modules page in the Maker, you arrive on the list of already created modules.
You can:
- Search by Name or Alias using the search bar.
- Search by Tags using the dedicated tag search field.
1.1. Columns displayed in the list
Each chat module is displayed with the following columns:
- Name
- Reference
- Alias
- Time zone
- Language
- Smart routing
- End-of-interaction smart routing
1.2. Available actions
At the end of each line, several action buttons are available:
- < >: Integrate the module into your website
- Arrow: Open the module
- Cogged wheel : Duplicate, view history, manage tags
- Pencil: Edit
- Trash : Delete
If the trash icon is greyed out, the chat module is currently used in other configurations and cannot be deleted. You must first review and remove its dependencies before deleting it.
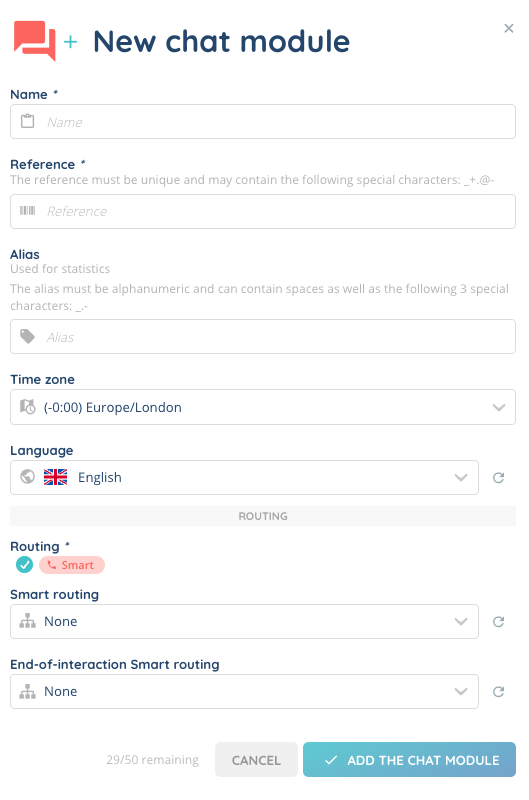
2. Create a chat module
Click Create at the top of the page.
You must fill in the following fields:
- Name
- Reference
- Alias
- Time zone
- Language
- Smart routing
- End-of-interaction smart routing
Then click Add the chat module.
Once created, the chat module appears in the list. You must open it to configure it further.
3. Configure a chat module
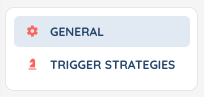
Each chat module contains two sub-tabs:
- General
- Trigger strategies
3.1. General tab
At the top of the page, two buttons are available:
- < > Integrate
- Edit (pencil icon)
3.1.1. Edit a chat module
When clicking Edit, you can modify:
- Name
- Reference (unique, and may contain the following special characters: _+.@- )
- Alias (for statistics)
- Description (optional)
- Time zone (‘Default’ will correspond to the time zone set in the client account settings)
- Language (‘Default’ will correspond to the time zone set in the client account settings)
- Automatic sending of the conversation via email (Yes / No)
The URL access to the chat is automatically generated and cannot be modified.
You can also update:
- Smart routing
- End-of-interaction smart routing
3.1.2. Configure the appearance
You can configure the visual appearance of the chat module.
Two styles are available:
Simple style
You can define:
- Title
- Module color
- Button color
- Button icon
Advanced style
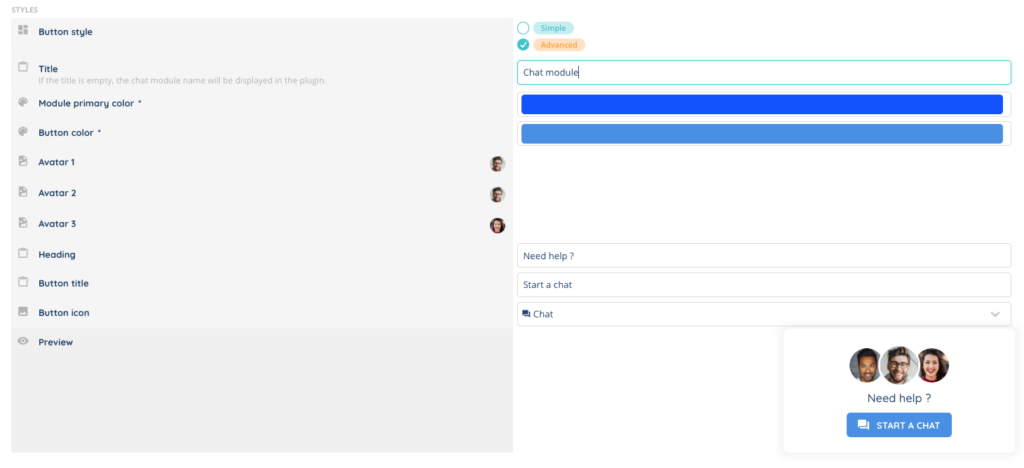
You can define:
- Title
- Module color
- Button color
- Button icon
- Up to 3 customizable avatars
- Heading
- Button title
3.1.3. Integrate the chat module
Click < > Integrate to generate the integration code.
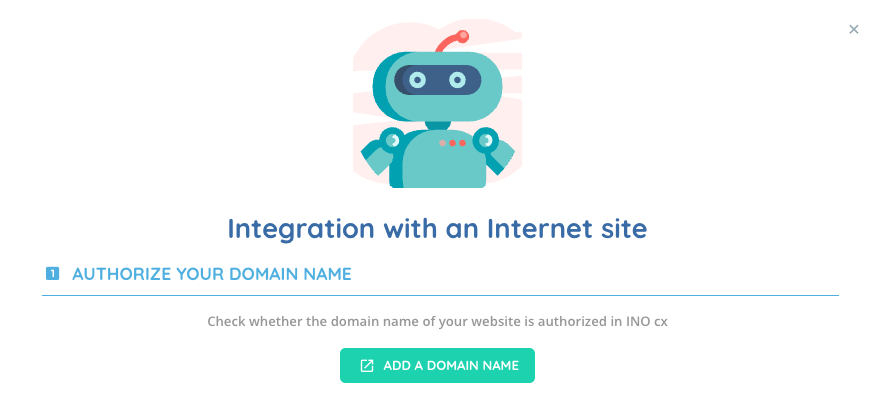
Before integration, make sure your domain name is authorized in:
Client account settings > Security > Domain names
You must copy the generated code and paste it just before the closing </body> tag of your HTML page.
Read here Chat plugin – Set it up on your website
3.1.4. Pass data to the chat module
You can send information to the chat module that will be used in INO cx.
To do so, add the "data" key to the ChatusLauncher builder and define the following variables:
firstname: Contact’s first name (string)lastname: Contact’s last name (string)message: A message displayed to the advisor at the start of the conversation (string)vars: Variables displayed to the advisor during the interaction (Array of objects)
3.2. Trigger strategies tab
In this tab, you can add one or several trigger strategies that must have been previously created in the dedicated Trigger strategies module of the Maker.
Once added, they appear in a list with the following columns:
- Name
- Reference
- Display the chat icon
- Opening the entire chat
By default:
- Display the chat icon is set to Yes.
- It cannot be set to No if Opening the entire chat is set to No.
- If Opening the entire chat is set to Yes, you can choose whether to display the chat icon (Yes/No).
4. Additional information
- It is possible to include a chat module in an SMS campaign. A link will allow customers to access the chat module.
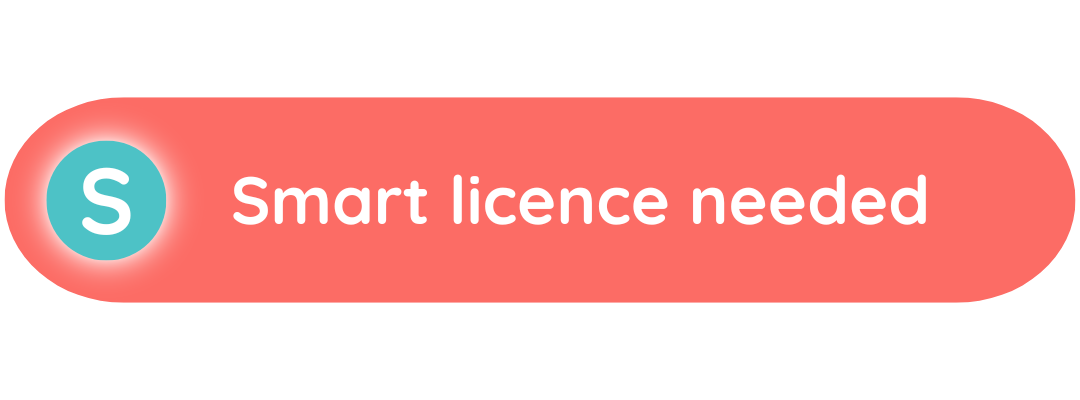
- A messaging smart routing is required if you want to use a chat module.
- A chat module can only be used with the digitalization action.